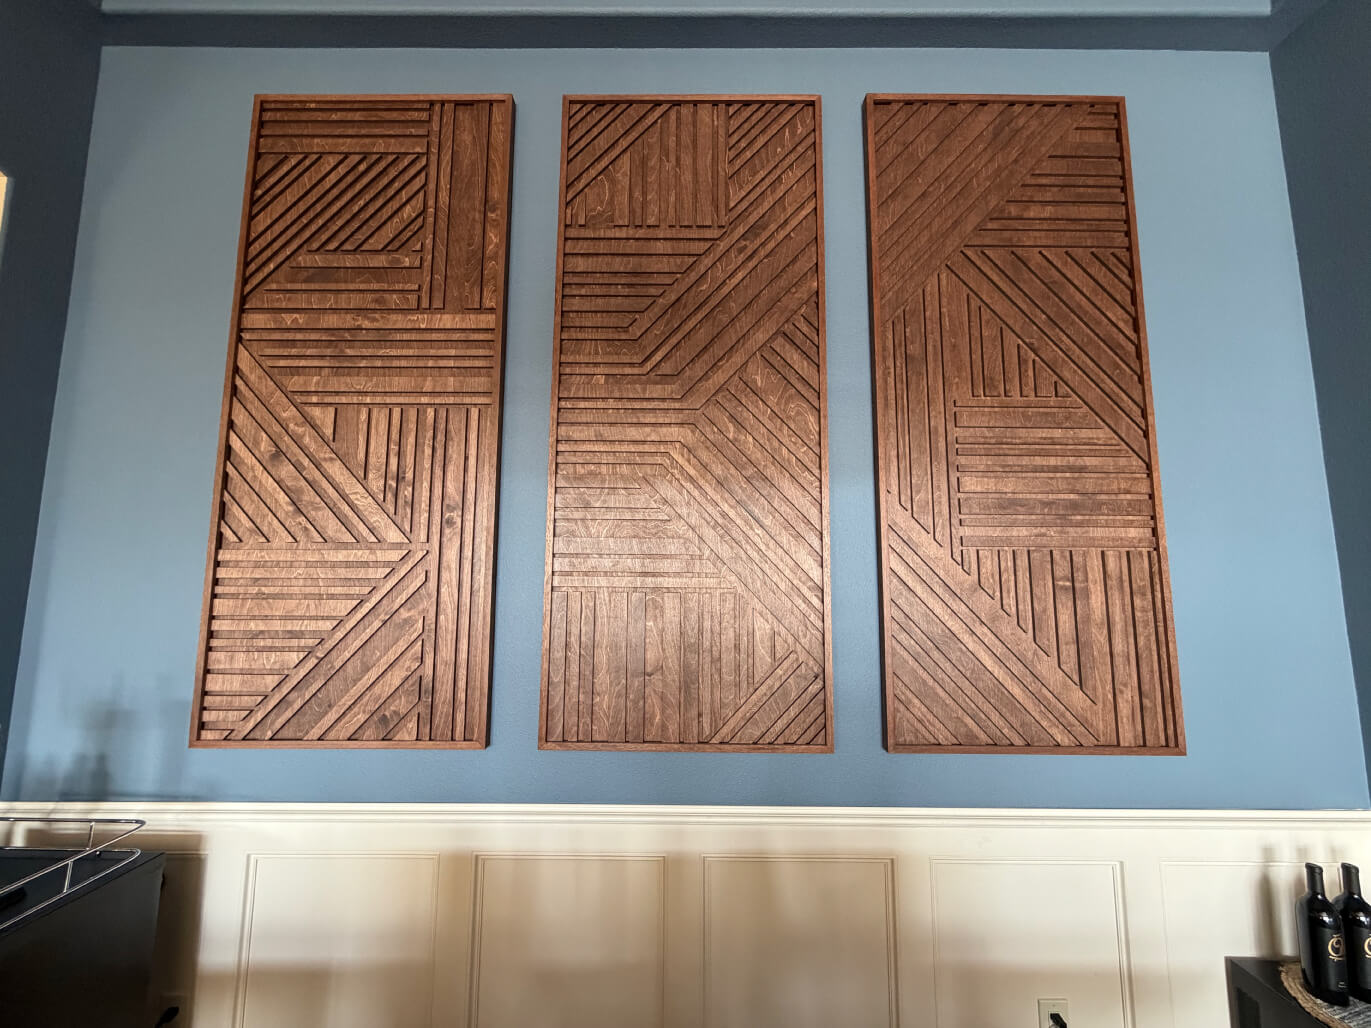
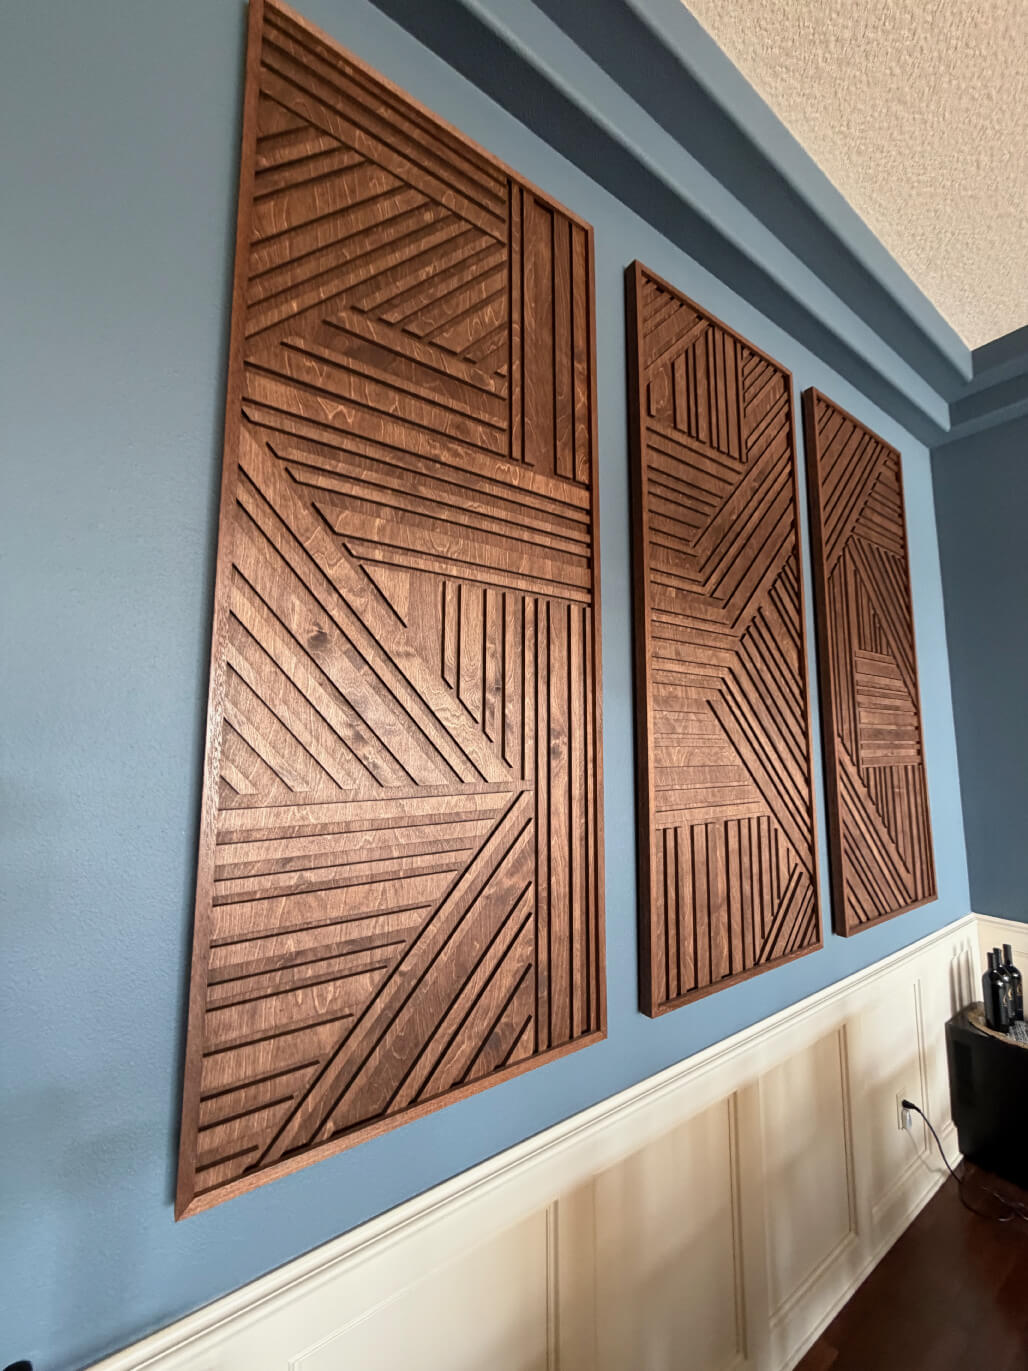
Three-panel custom monogrammed wall art installation in mahogany-stained birch
Selected Work

Custom Monogrammed Wall Art

A three-panel statement piece for a private residence, designed and built from concept to installation in under two weeks.

Client
Private residence, Pacific Northwest
Scope
Design consultation, CNC fabrication, finishing, install
Materials
1/2" birch plywood (double-layered), mahogany stain, satin water-based poly
Dimensions
Three panels, 32" x 84" each
Timeline
5 days from approval to install-ready (one work week)
Capabilities
CNC routing, layered assembly, custom finishing, on-site install

The Brief

The client approached us with an idea for a tall feature wall in the dining room that lacked clarity. They wanted a product that had dimension, warmth, and appealed to users on an emotional level as opposed to just being decorative. Additionally, they wanted family to be represented through this feature without being overtly represented.

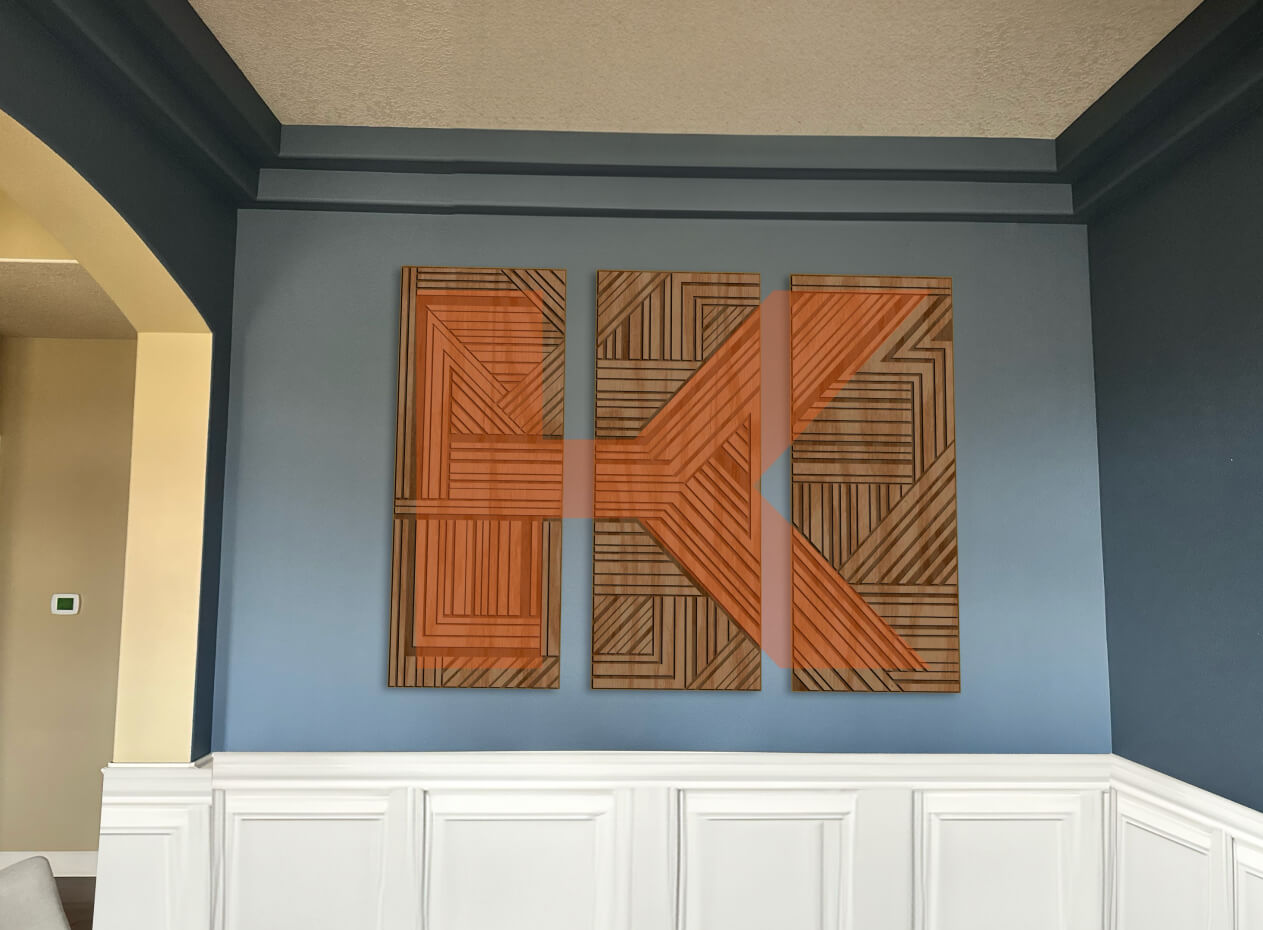
After several rounds of sketches and working through a sample panel we designed a triptych of three large panels each consisting of a different geometric pattern that were stained deep mahogany and included the client's last initial “K” in a very soft orange wash across the entire expanse of the installation. The way the K reads from far away would be different than how it dissolved into the geometry upon viewing up close.

It took five days to complete from start to finish (after approval) and one afternoon to install. The shop has a very good process of moving from sample through to install; there are many reasons why this process functions so smoothly; you will see it as each step unfolds below.

Approved concept rendering for the three-panel monogrammed wall art

Step 01 — Concept & Approval

From idea to approved concept

Through multiple discussions about design direction, we came to a solution for our 3-panel composition using the client's last name (K) as an orange overlay over the geometric pattern. The attached proof was the version we submitted to get a green light from the client, and we had a signed-off concept in only 3 days after the original kickoff conversation.

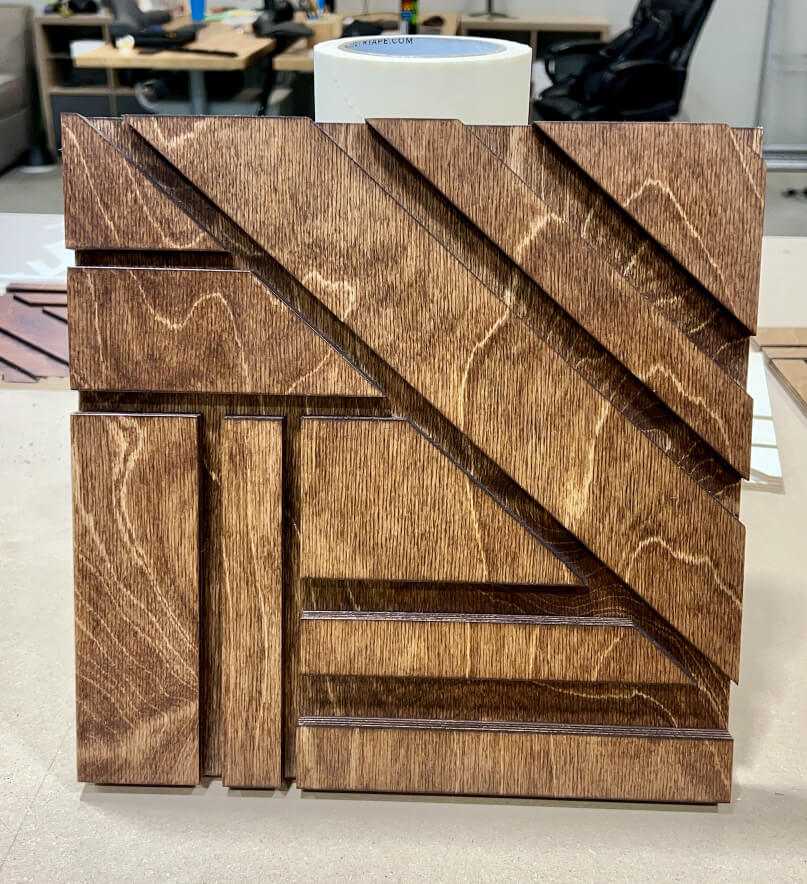
Small reproducible stain sample built on the actual material to confirm color before production

Step 02 — Stain Sample

Building a true-to-life sample

While renderings can give you an idea of what the finished product will be, they can't represent the actual color of stain (very different from how it would look on real wood). We produced a small sample using the actual material and desired stain color so that the client could see exactly what would be approved prior to beginning production. This took 3 days of back-and-forth to nail down the color, approval of one sample, and then we could start producing the panels.

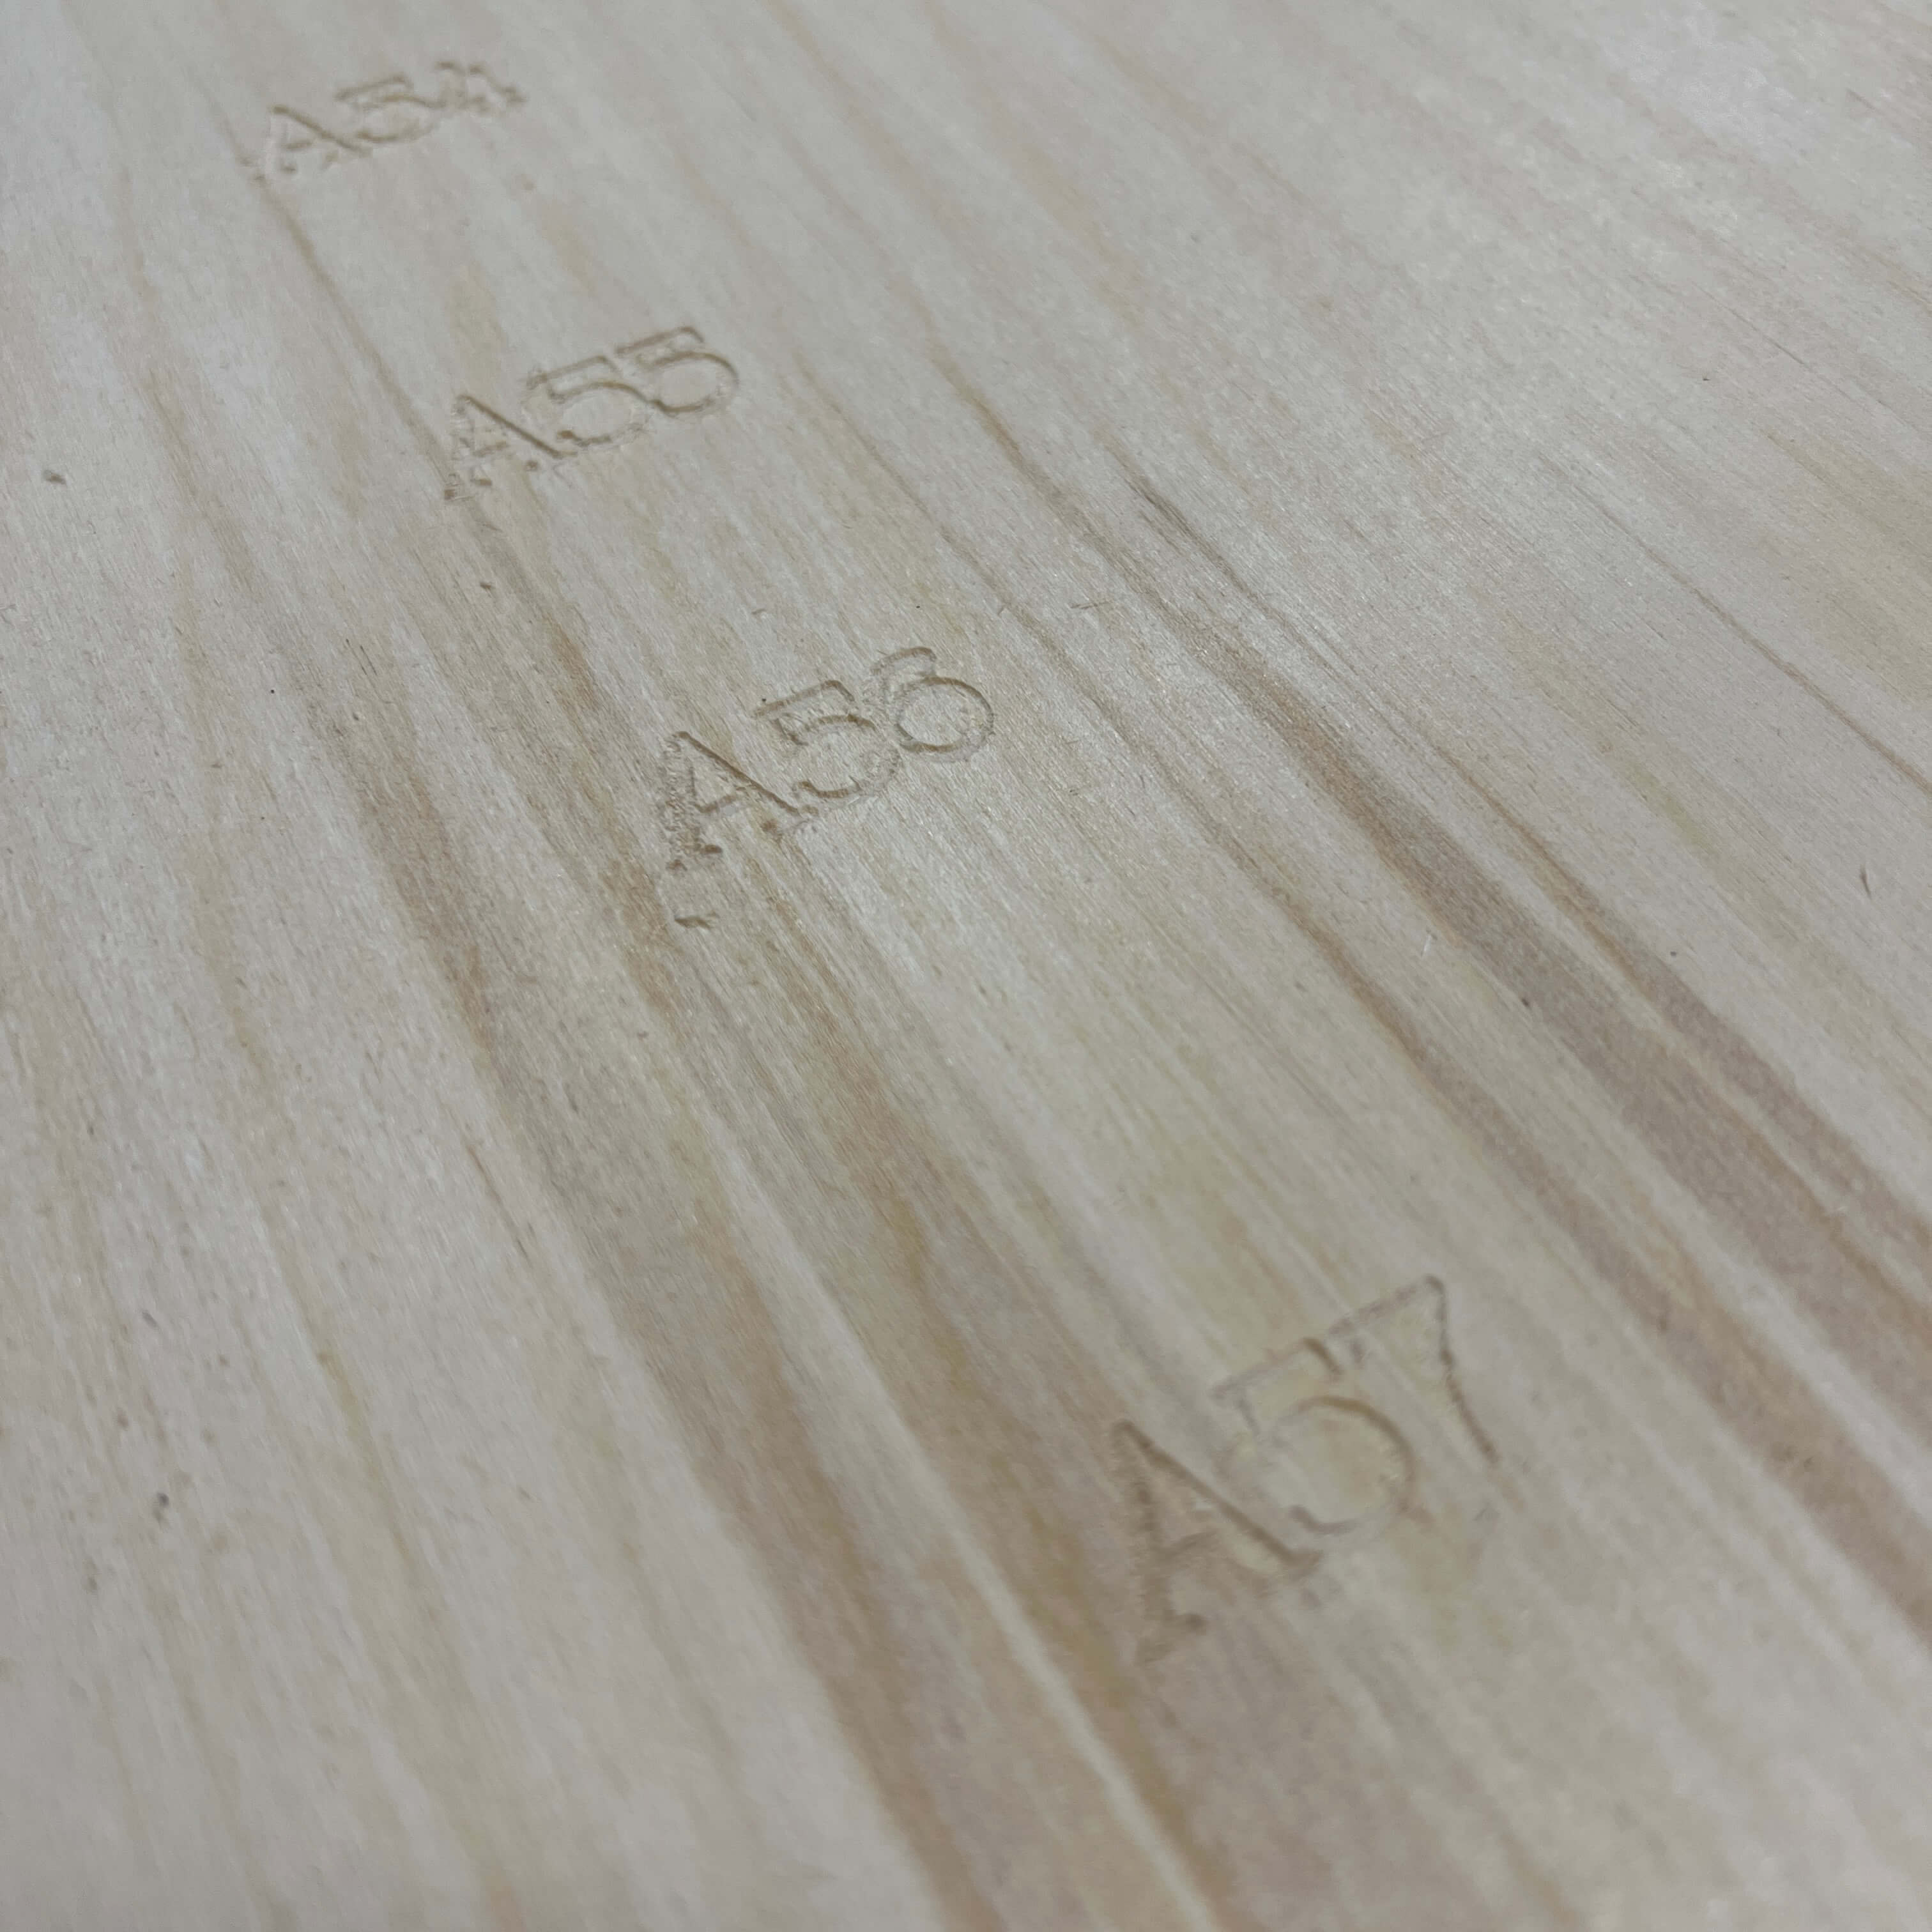
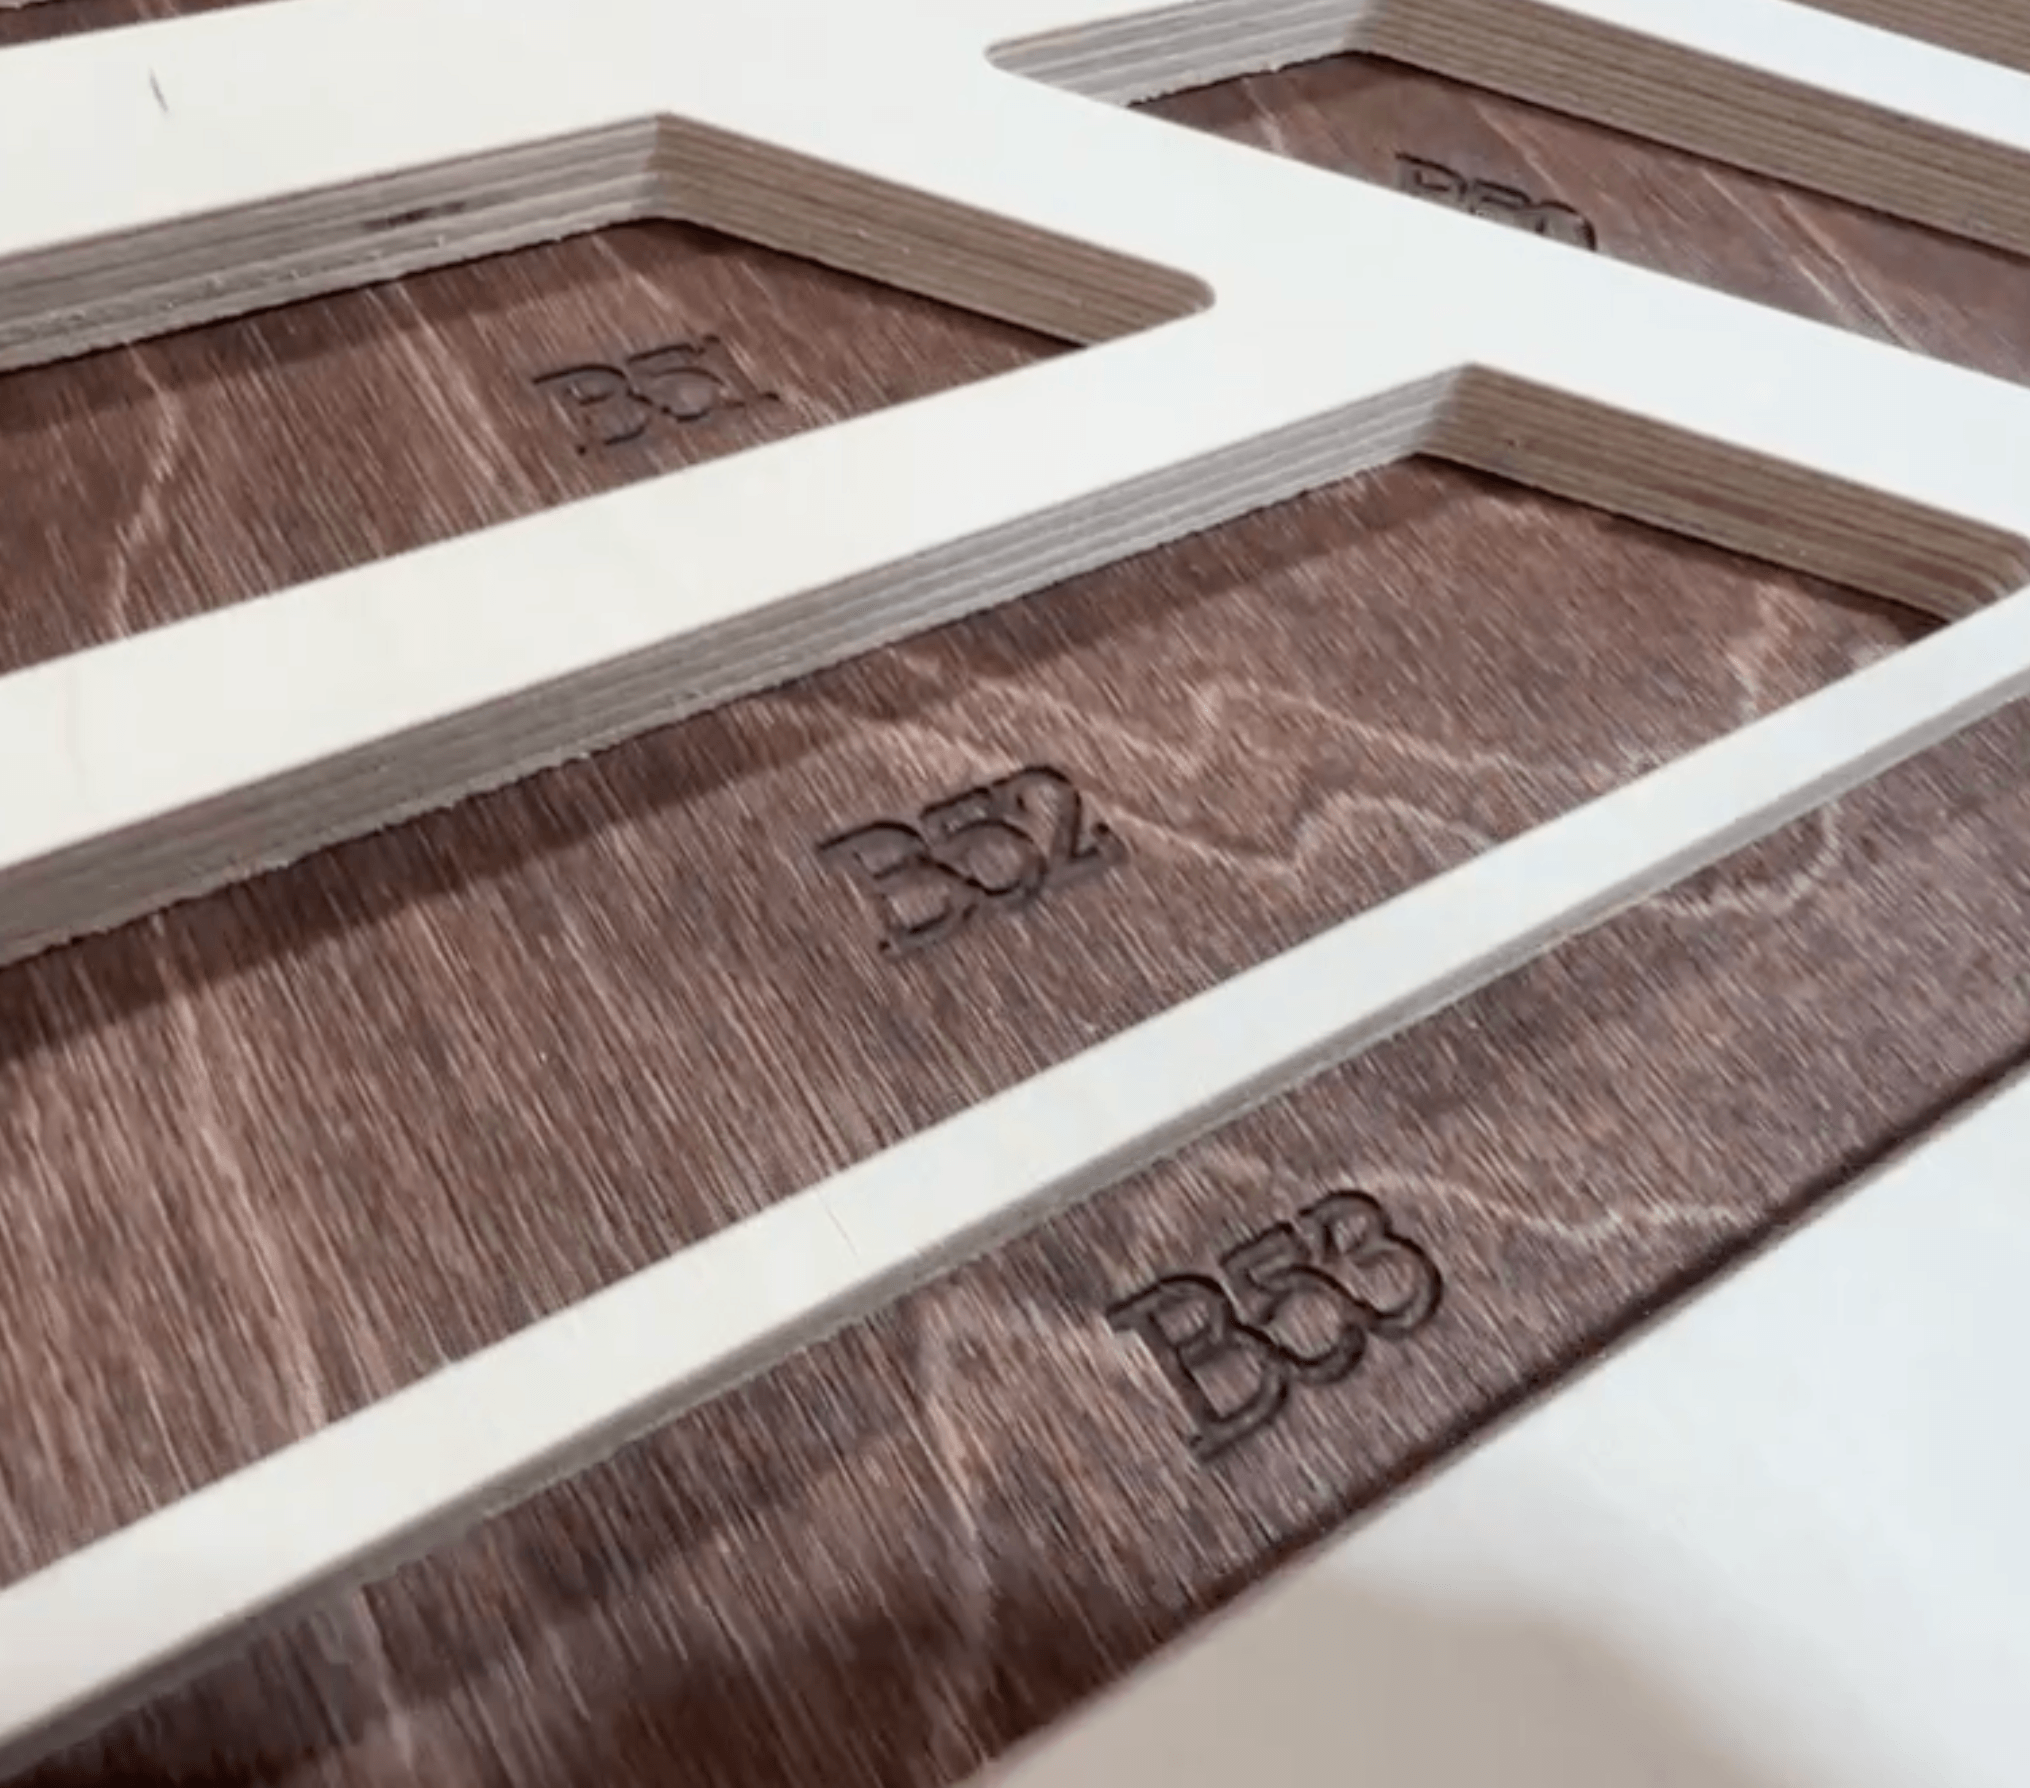
CNC-engraved mapping legend numbered into the backing board for assembly tracking

Step 03 — Mapping Legend

A numbered key for hundreds of pieces

Each panel measured 32" x 84", and the geometric pattern consisted of approximately 150 pieces per panel. Since there were a total of 3 panels, without a system in place to assemble them, we would have been in for a chaotic assembly process; therefore, we engraved a numbered key directly into the backing board and labeled each of the cut pieces to match it. This was our inexpensive way of protecting ourselves against a very costly mistake.

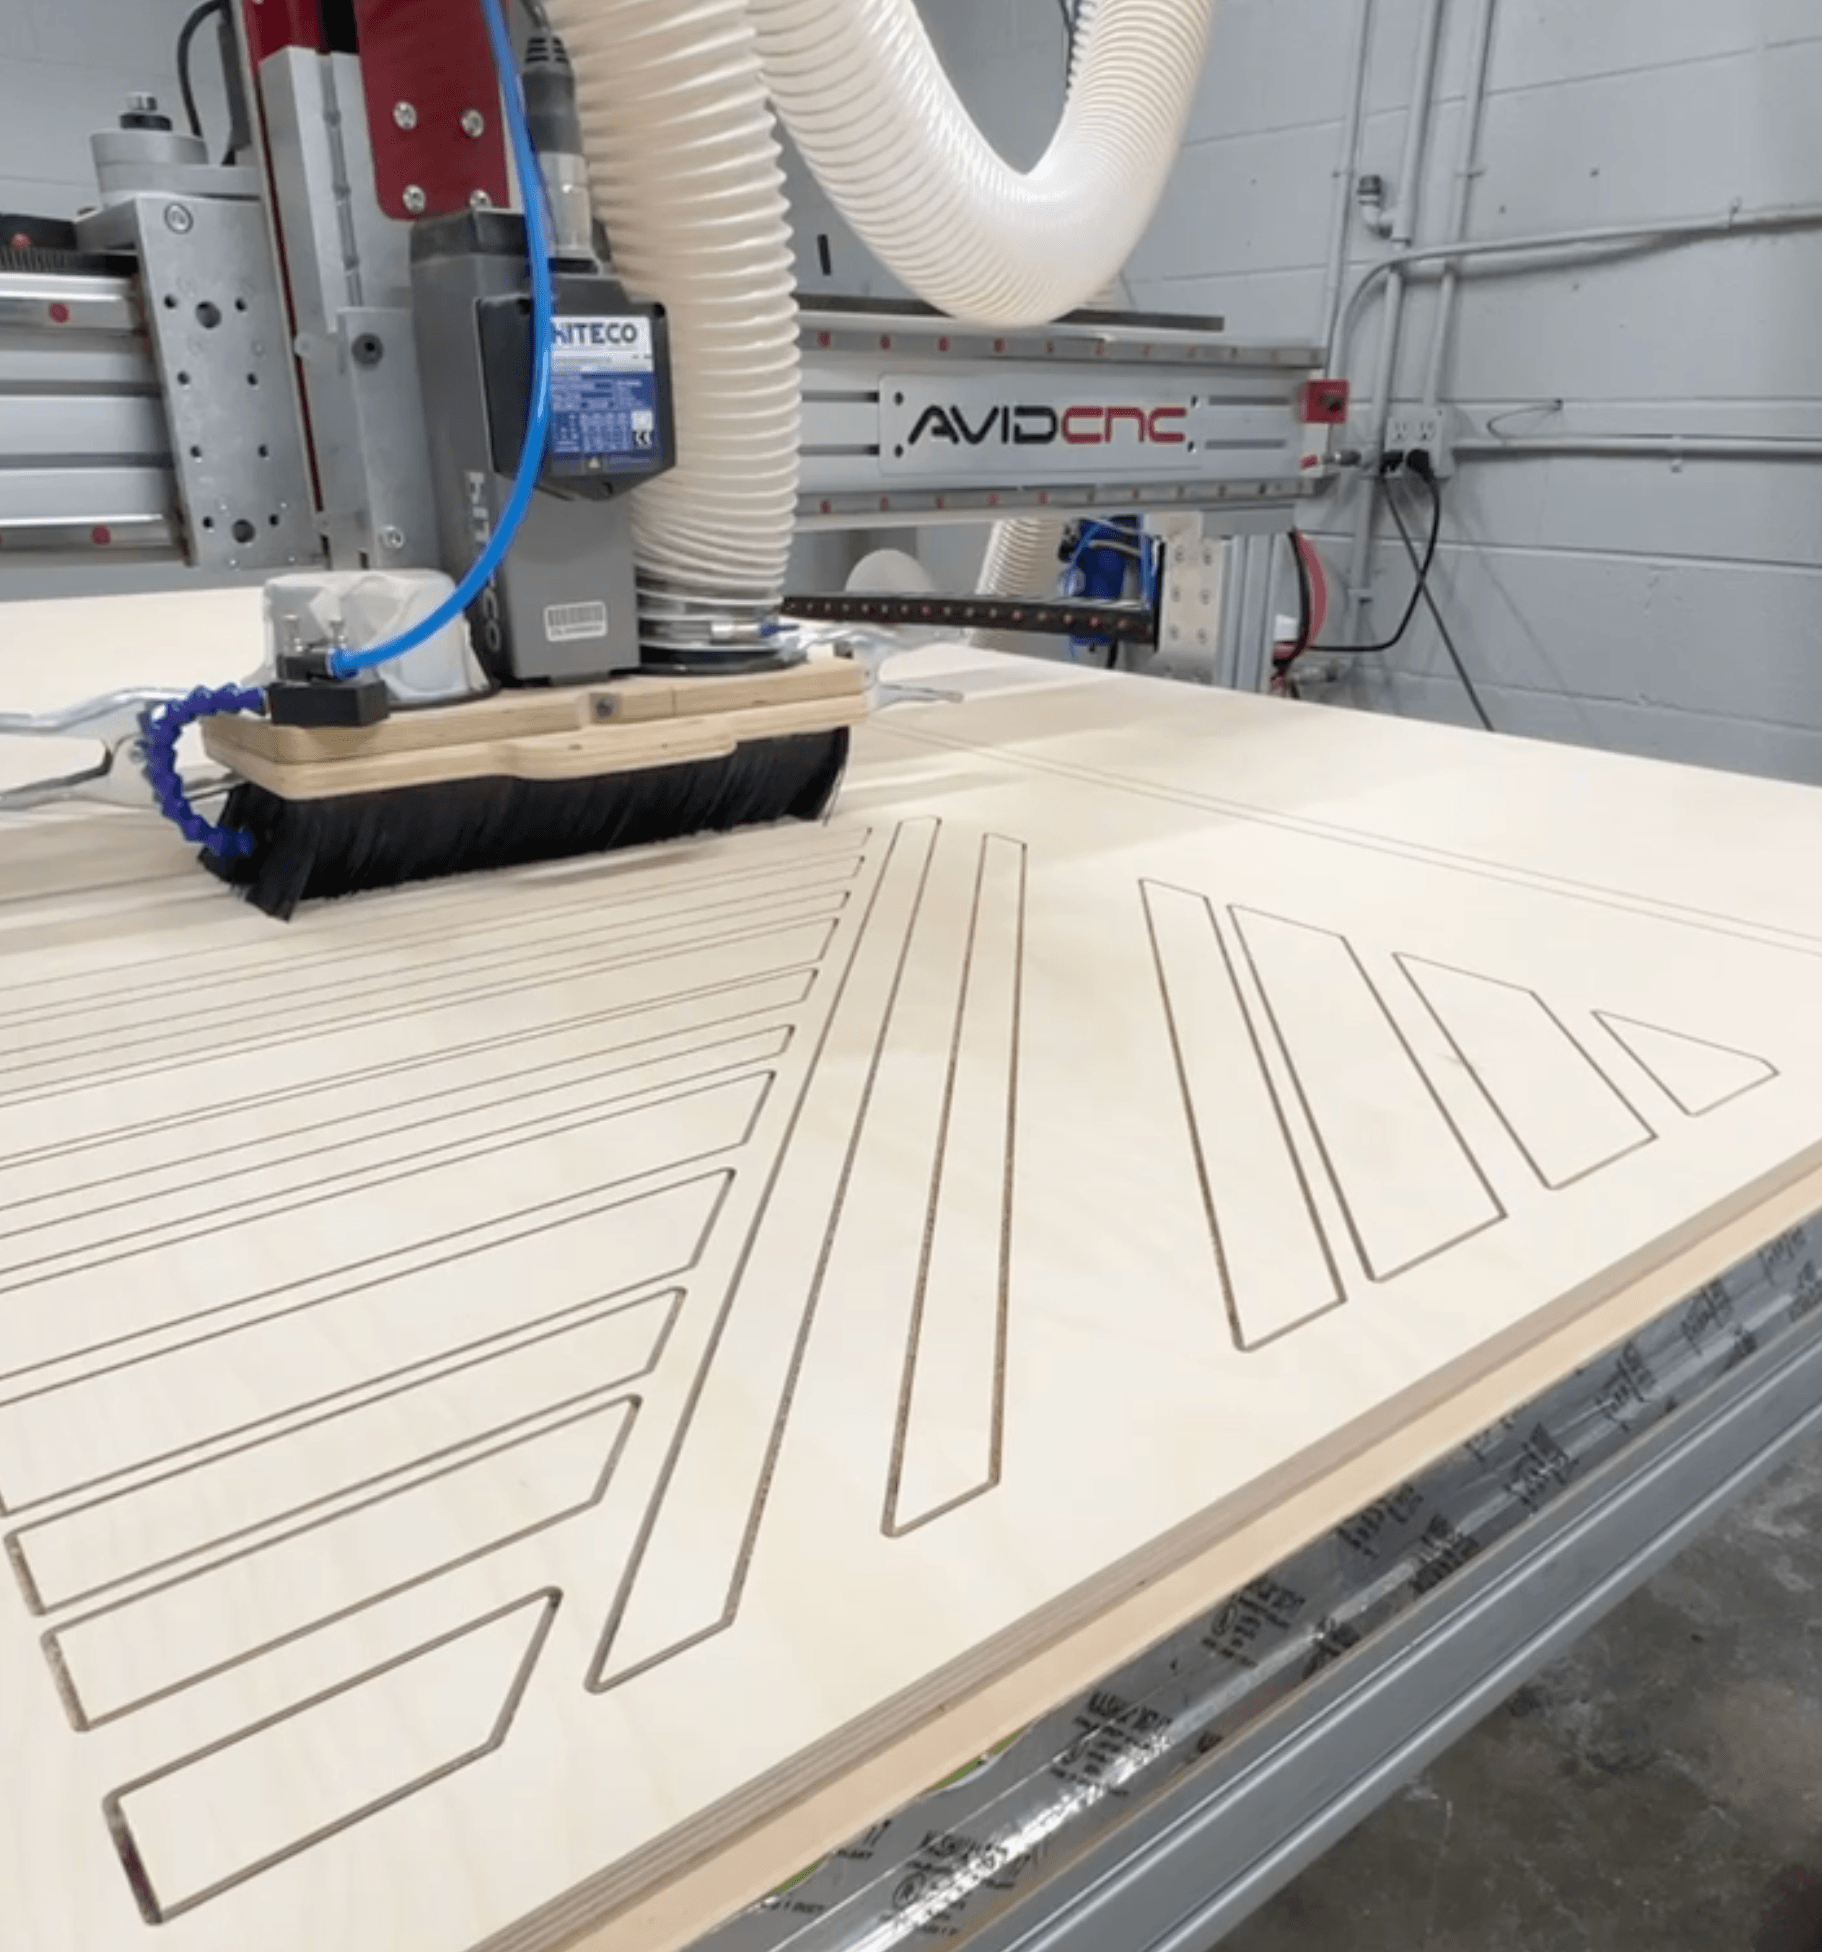
CNC machine milling top-layer pieces with a precision downcut bit for clean top edges

Step 04 — CNC Milling

Precision downcut for clean top edges

We used a precision downcut bit to run the top layer pieces, which pushes wood fibers down into the cut rather than pulling them up. The resulting edge of the cut pieces presented zero tearout after they were machined, which meant no sanding or edge cleanup would be needed. As all of the panels had visible edges on all cuts, that detail was extremely important.

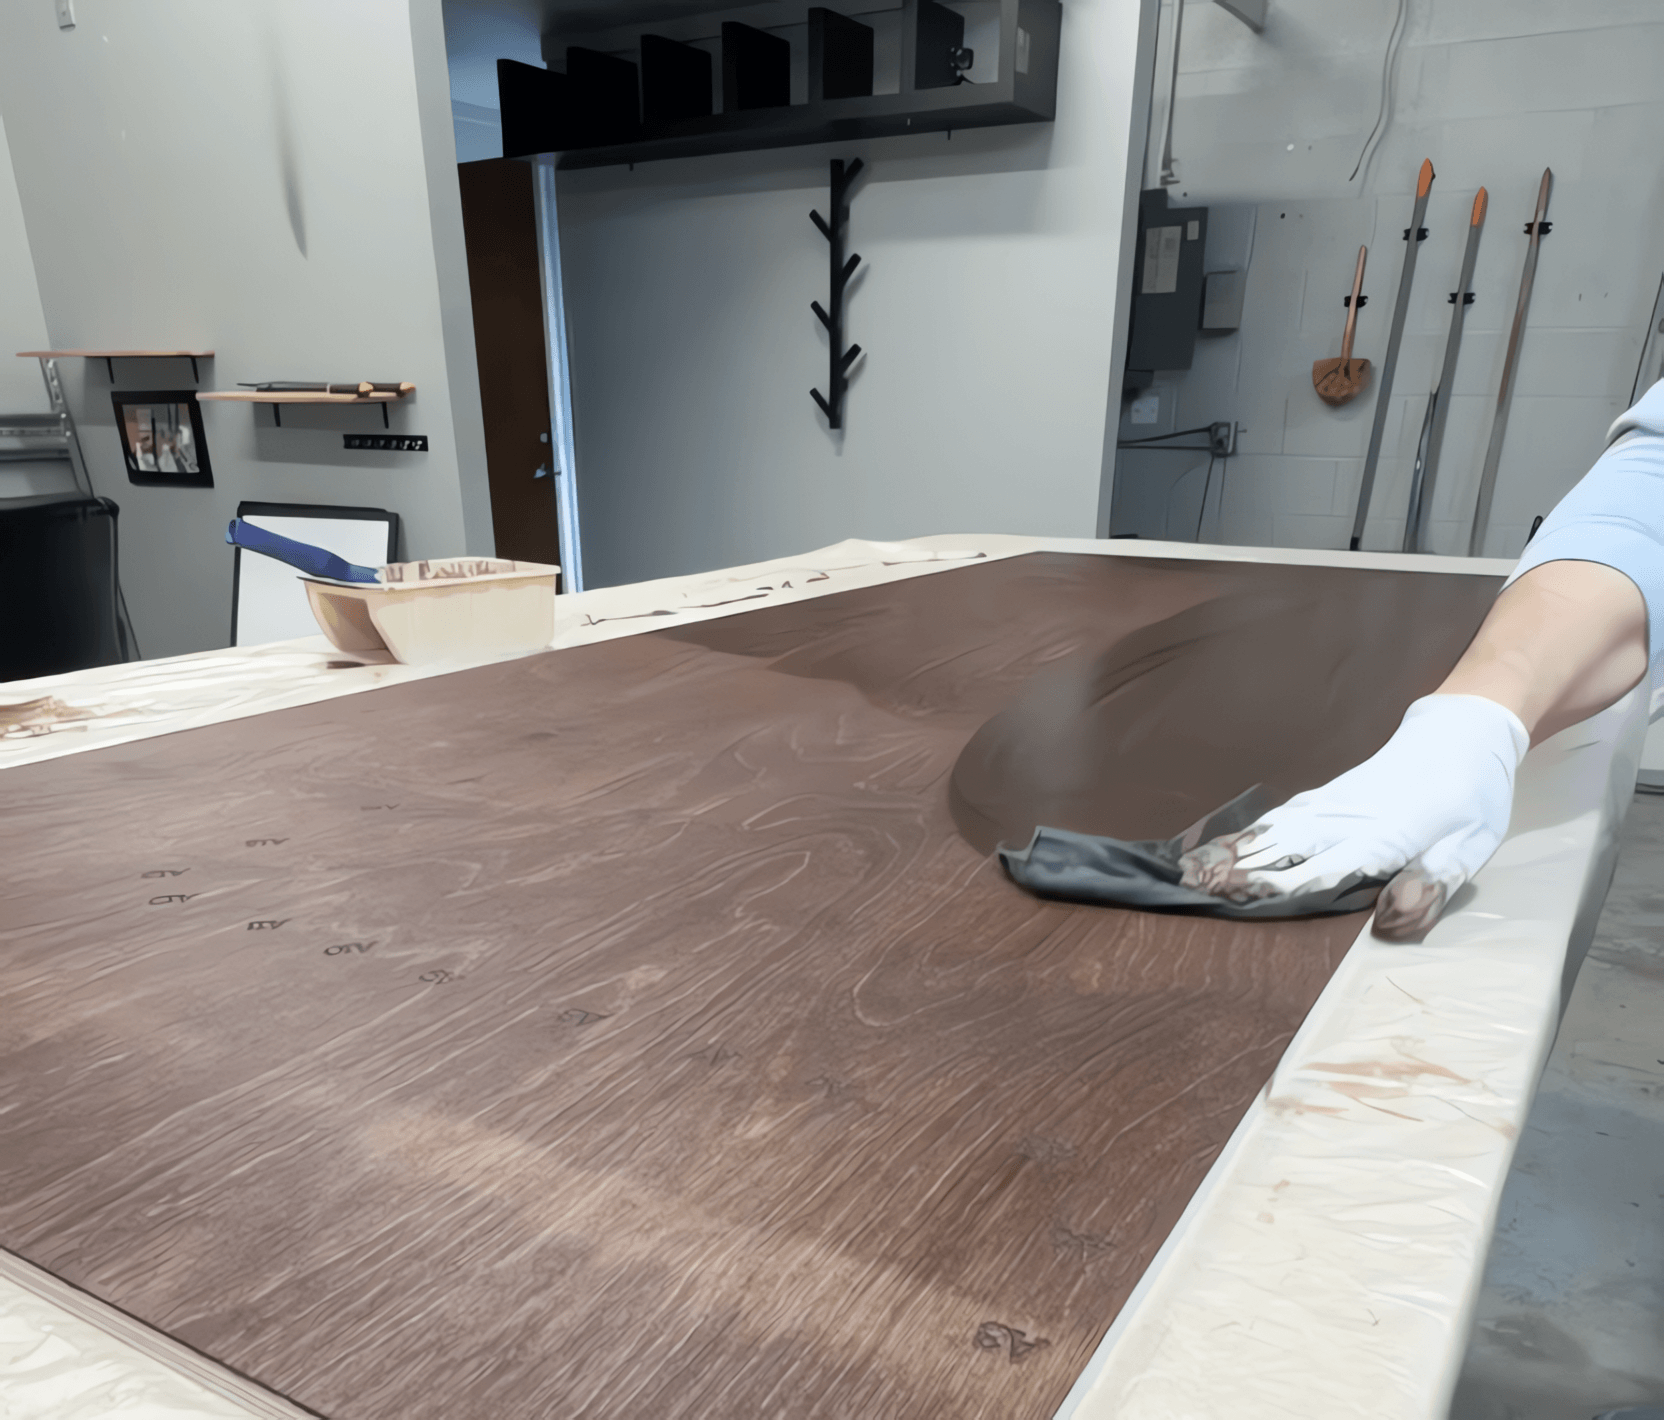
Staining the backing panel in deep mahogany before top-layer assembly

Step 05 — Staining the Backing Board

Two layers, two stain steps

The individual components of a given panel are comprised of two layers of 1/2" thick birch plywood: first, there will be a backing piece of plywood that has been engraved with the mapping key; second, there will also be a top layer of geometric pieces glued to the backing piece of plywood. The back-up plywood required to be stained (for visual appeal) and had to fully cure (hardness) prior to attaching the top layer of geometric pieces. If the plywood were not allowed sufficient time to cure, then there is the potential for the finished product to require re-work, therefore patience was exercised at this stage of the process.

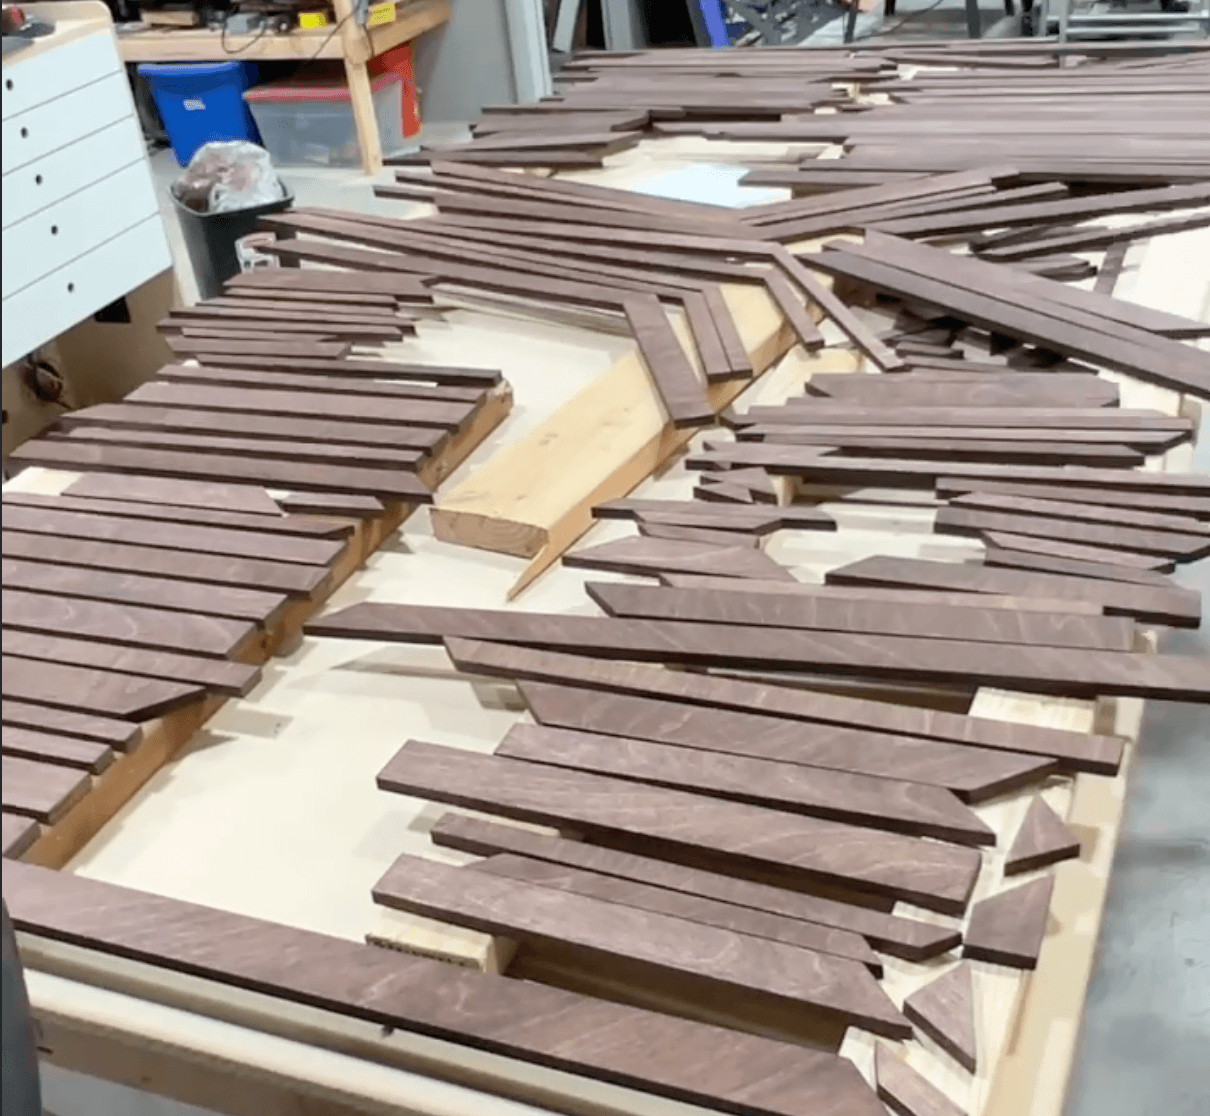
Top-layer pieces stained in mahogany and numbered, queued for assembly

Step 06 — Top Layer Stain & Numbering

Stained, numbered, ready to assemble

Once all of the top-level geometric pieces have been cut by the CNC machine, we stained and labeled them (on the back) to correspond with the engraved key that is located on the respective backing board. Each set of components created for three panels was tagged to ensure, once assembled, that they were fitted into their respective locations, which resulted in having an already defined layout at the time we were ready to assemble.

Close-up of the engraved numbered key on a backing board with stained top pieces queued for placement

Step 07 — Mapping Key Detail

The map in action

An image showing an up-close view of the engraved mapping key on a piece of backing plywood is illustrated above with stained geometric pieces being lined up ready to be assembled (attached) to the respective backing plywood. A piece number B52 (stained geometric piece) will fit into position B52 on the engraved part of the backing plywood. This level of discipline or knowledge in having implemented a system/process that allows for two persons to produce a very complex finished product will provide for no opportunity for the finished product to have errors in construction.

The mathematics is not from cutting; it is from being able to plan before you cut. Number each item, stain each piece, and prove each operation on a sample piece before the actual build, and the build itself becomes almost mundane.

— EastSide CNC
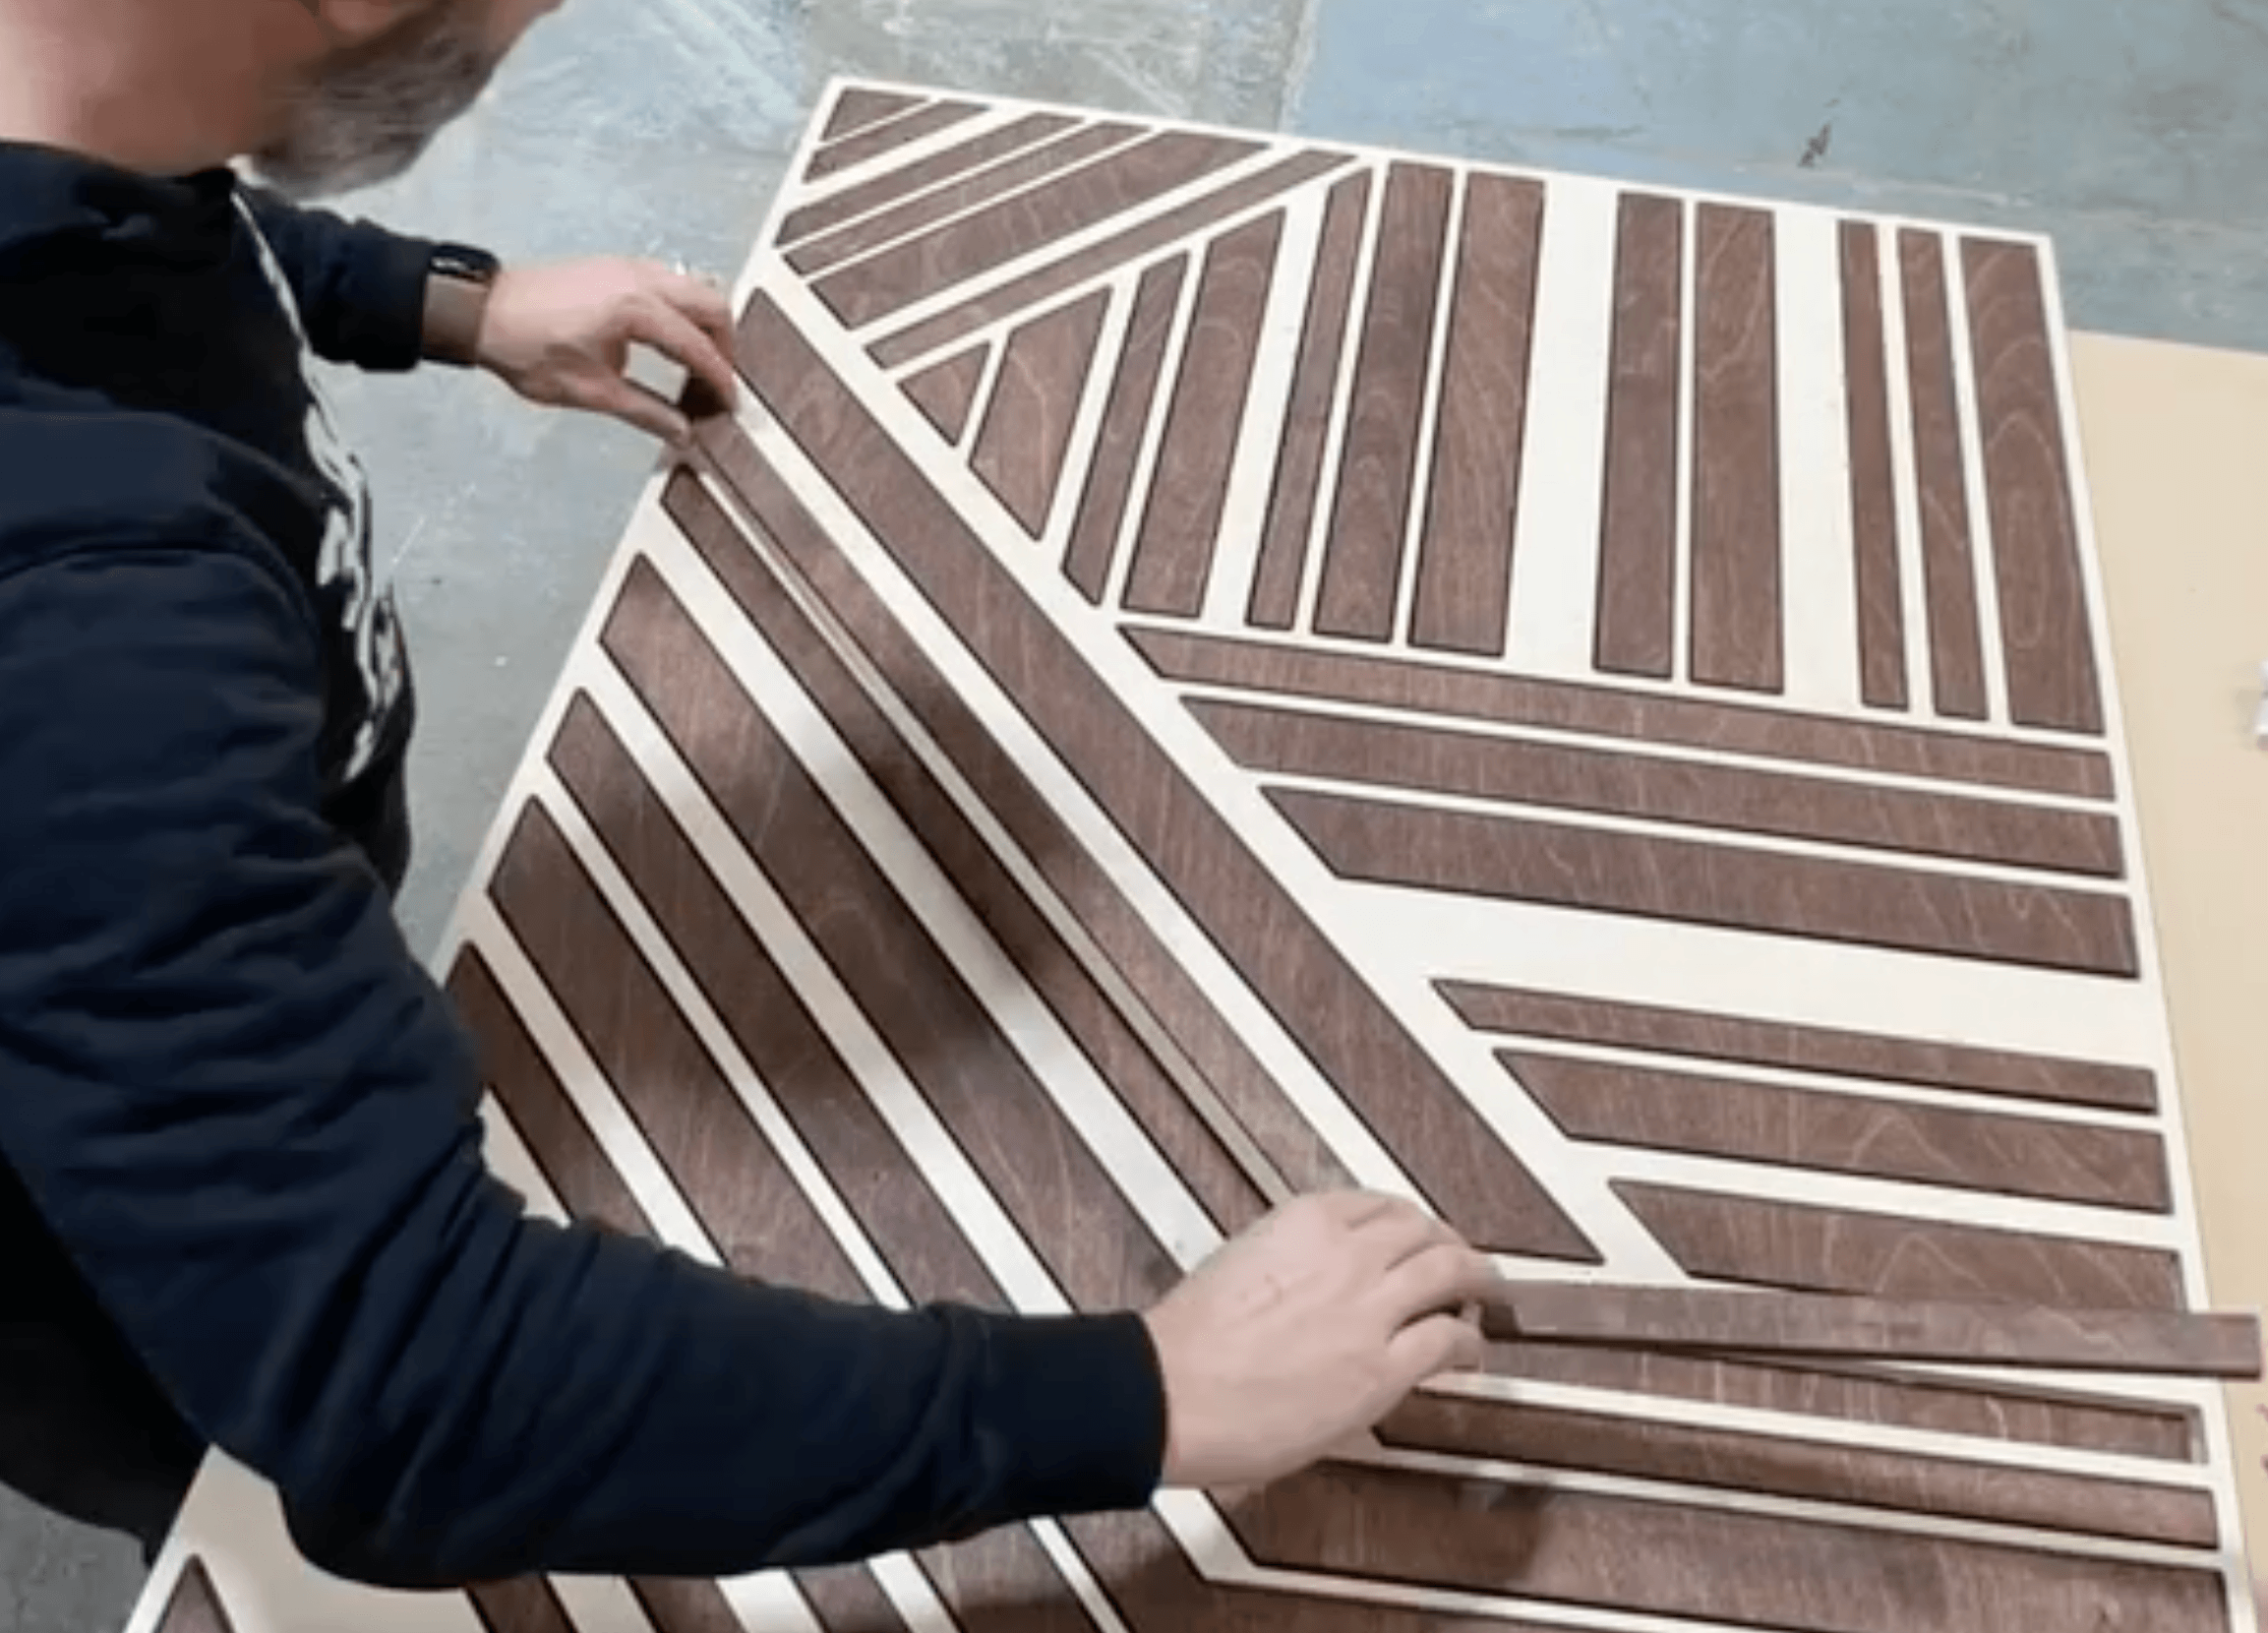
Top-layer pieces being glued onto the backing board during assembly

Step 08 — Top Layer Glue-Up

Assembly, panel by panel

Since every piece was pre-stained and pre-numbered, the glue-up process was completed quickly. The entire process consisted of four methods: place; register against engraved key; apply wood glue and then weight down. The actual construction pattern emerged instantaneously as each part was placed.

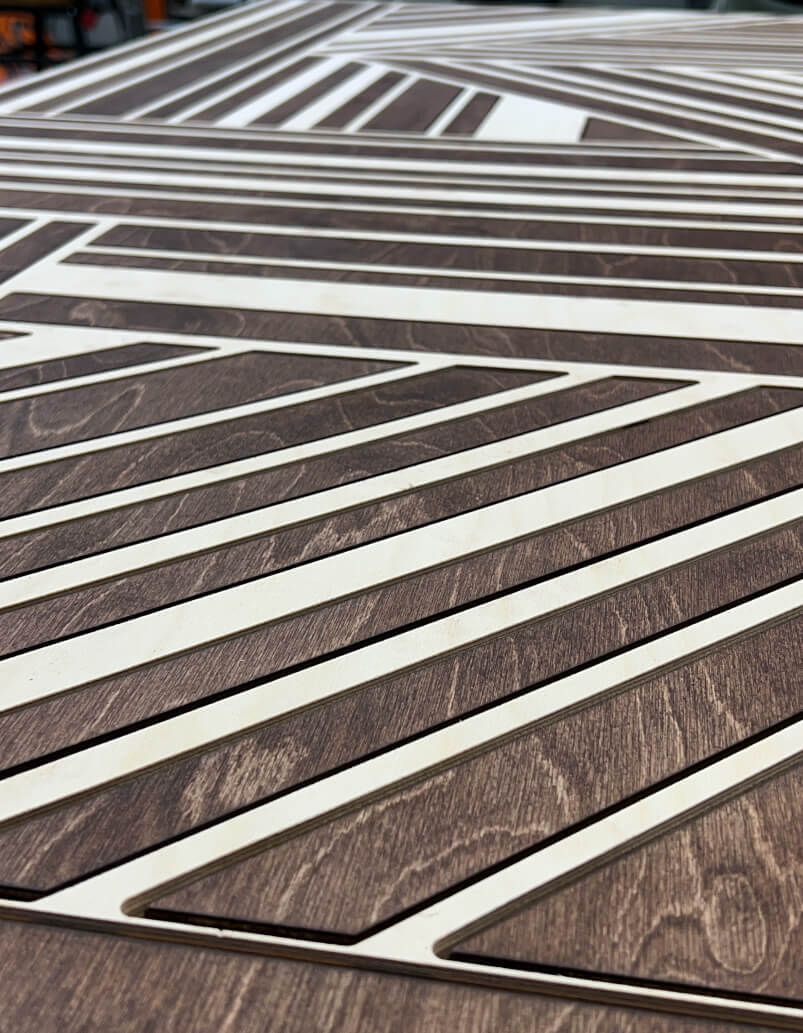
Close-up assembly detail showing the geometry and grain of the top-layer pieces

Step 09 — Assembly Detail

Where the geometry meets the grain

The photo demonstrates a close-up of the glue-up. At this point in construction, you can see the part's overall structure due to how cleanly and tightly the parts fit together with no gaps anywhere. When the finish is applied, the contrast between the unstained lighter edges and the mahogany-colored faces will disappear, but at this point you can see what was done to make up the part.

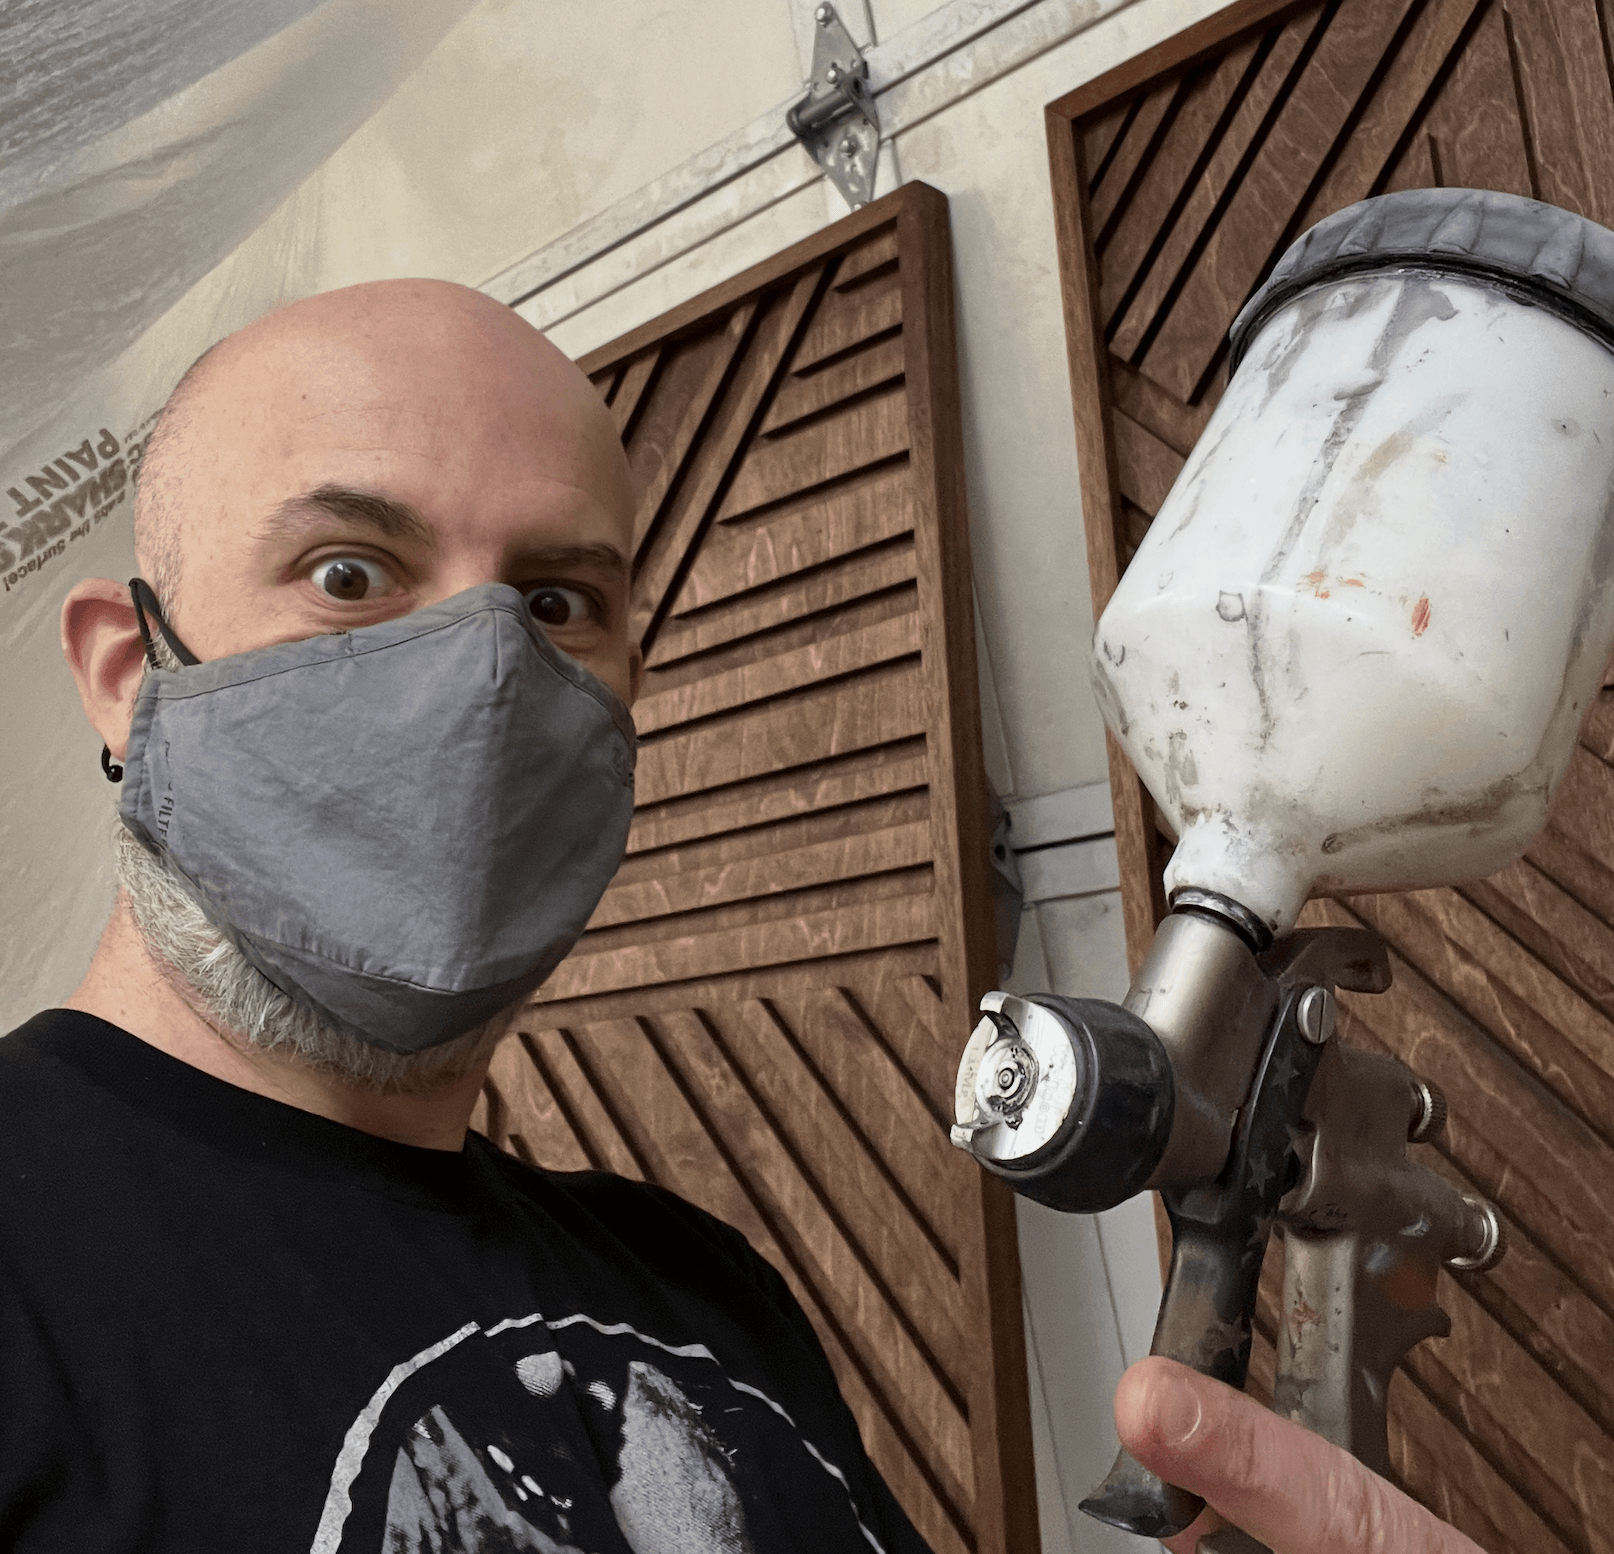
Applying several coats of satin water-based polyurethane as the final finish

Step 10 — Satin Poly Clearcoat

Several coats of satin water-based poly

All three panels' final finish will be a satin water-based polyurethane that has been applied with several thin coats and has been sanded between applications. The water-based product will remain clear throughout the life of the wall unit where an oil-based product would become yellowish over time. The satin finish also provides depth to the wood parts without providing any shine.

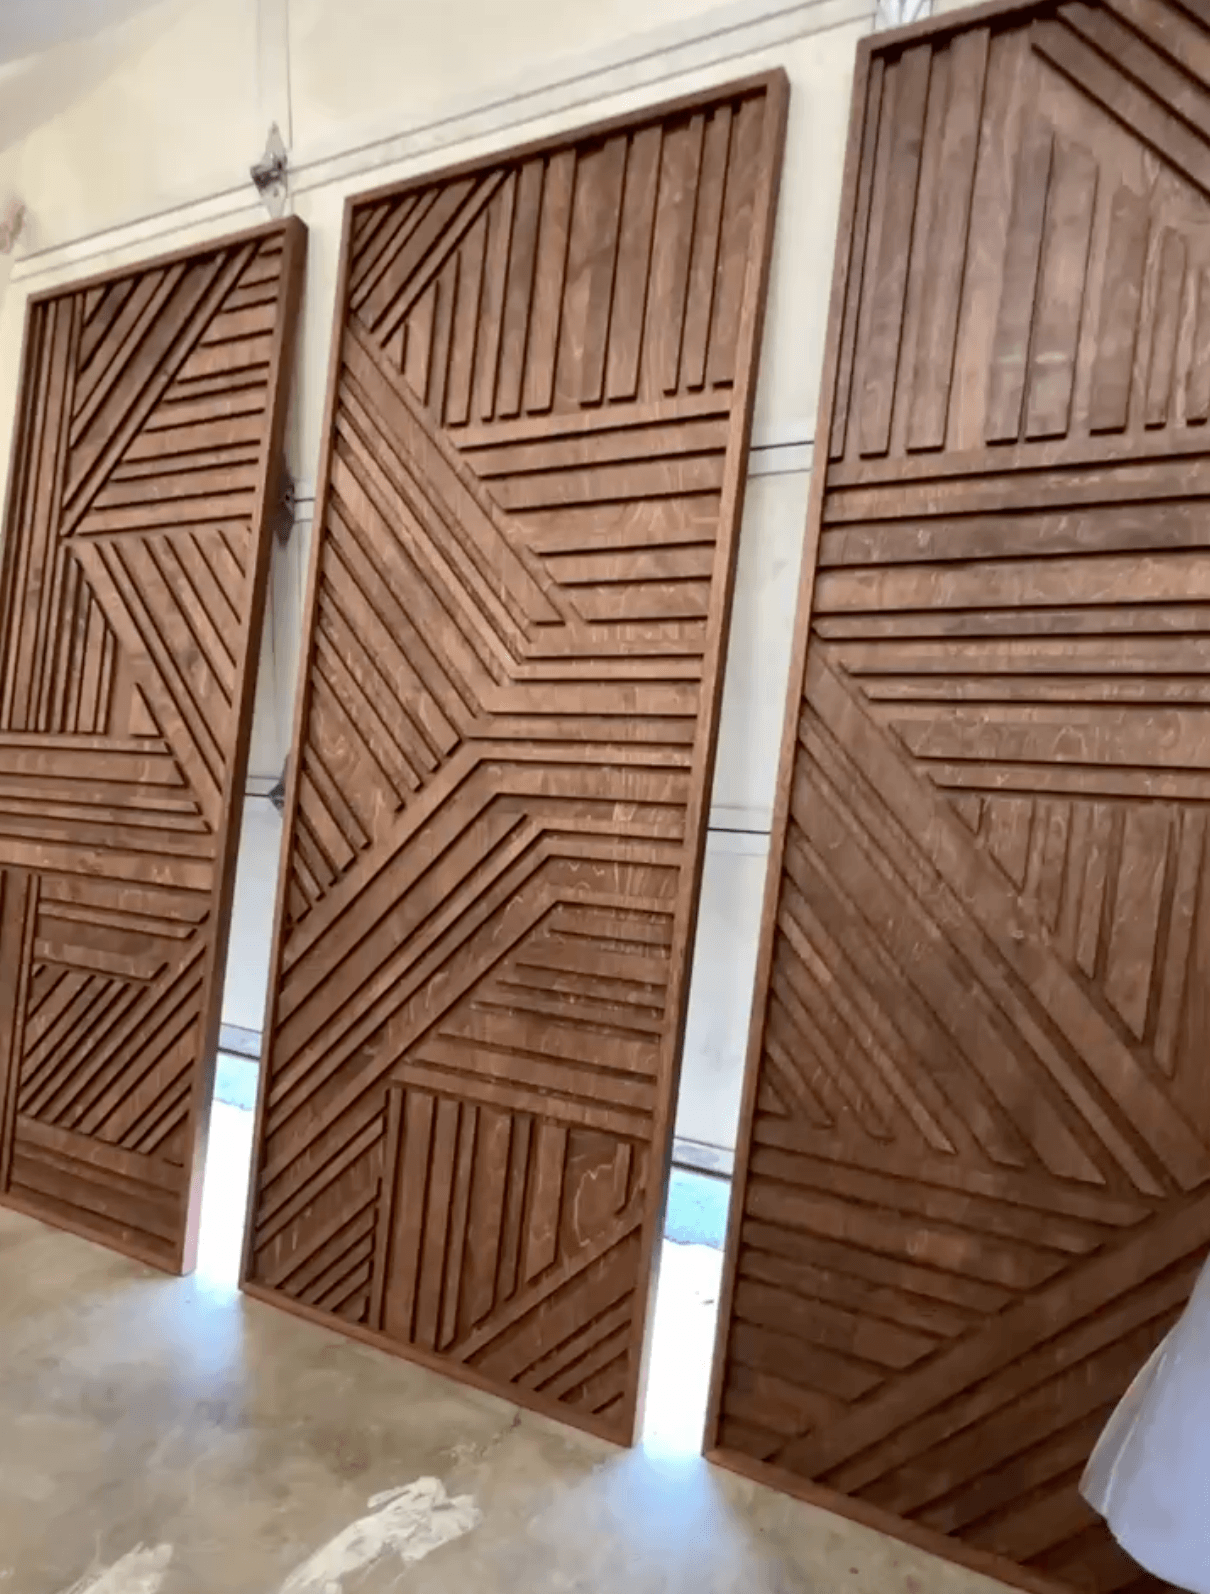
Three finished wall art panels lined up in the shop, ready for install

Step 11 — Ready for Install

Day five, panels complete

The three finished and completely cured panels are lined up in the shop the night before installation. From the time the approved sample was completed until the three wall units were ready to hang took one work week (including all of the time necessary for stain and cure). All three panels appear similar in the above photo, but you can clearly see the individual geometric compositions of each part when they are hung next to one another.

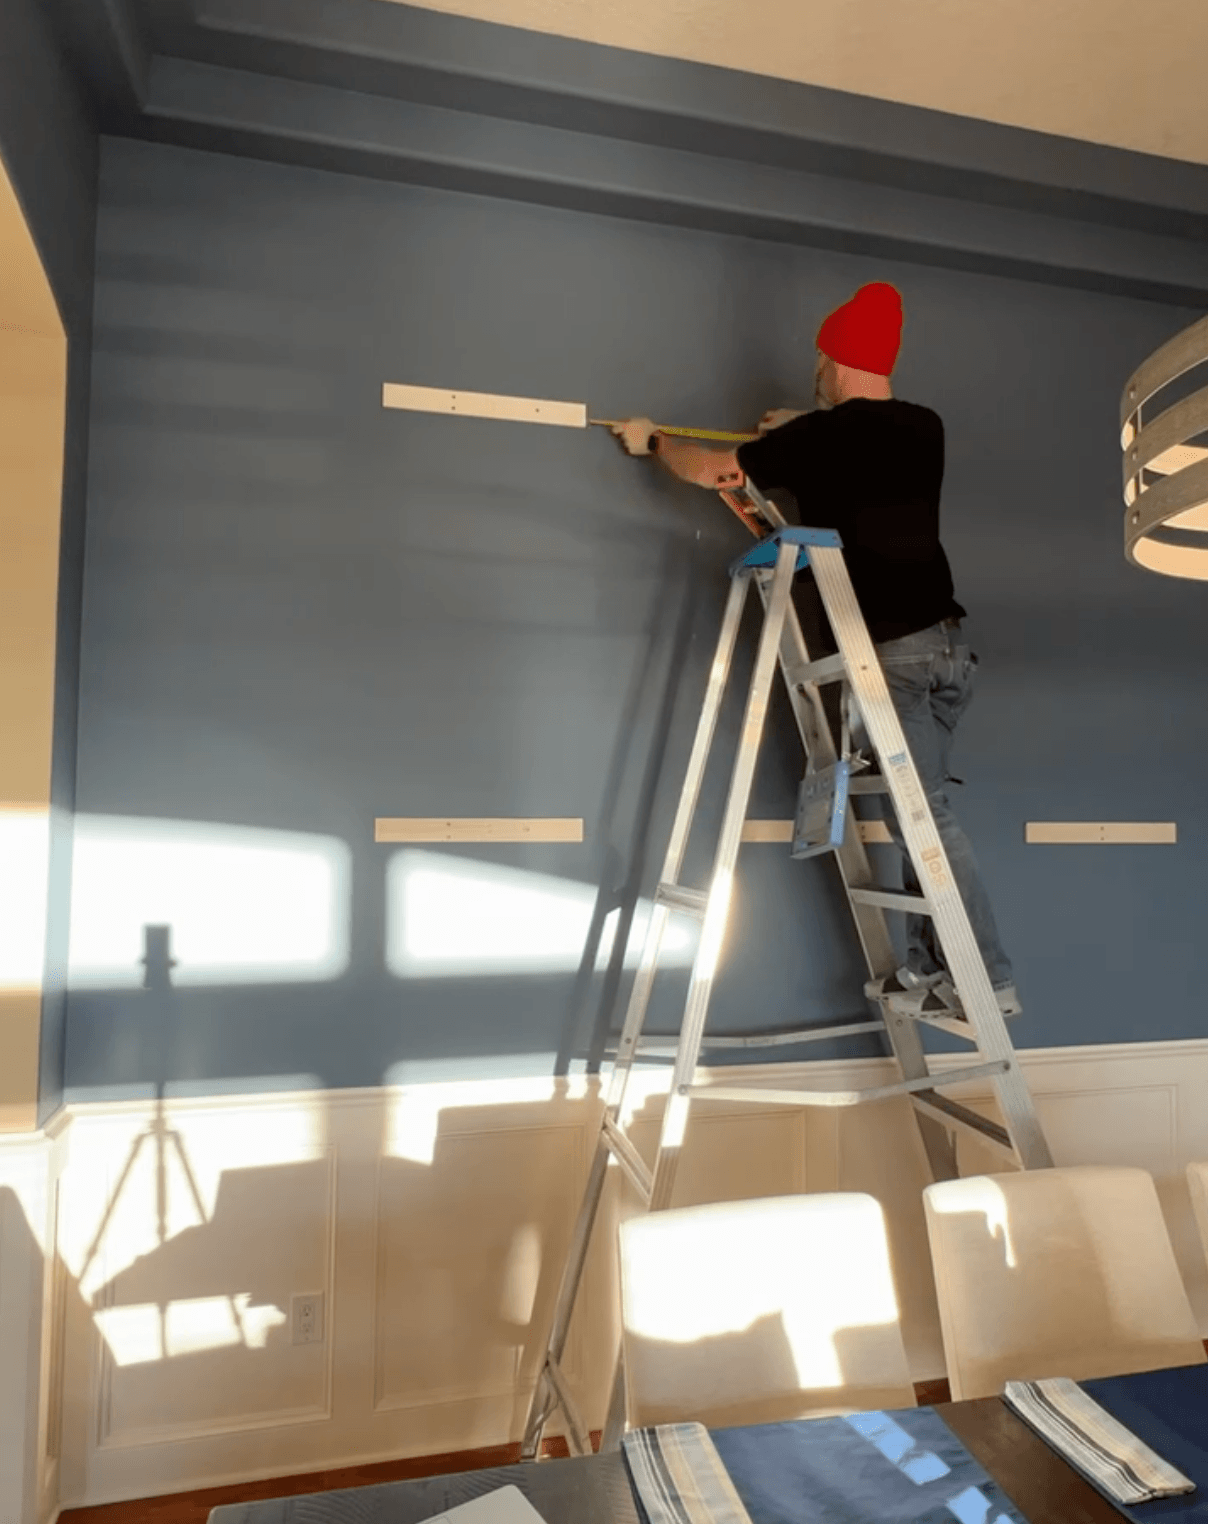
Double french cleat mounting system installed on the wall, ready to receive panels

Step 12 — French Cleat Install

Double french cleat mounting

When you have Panels that are this Size, the Best Installation Method will be a French Cleat. A French Cleat is Made up of Two beveled wood strips. One is Mounted to the Wall, and the Other is Mounted to the Back of the Panel. The Two beveled strips interlock at 45-degree angles. The Weight of the Panel pulls the Bevel Together and Locks it in Place without any visible Hardware. We used a Double Cleat (One Cleat Near the Top and One Cleat Near the Bottom of Each Panel) to Prevent any Top-Heavy Instability since this will be a very tall and Heavy panel installation. At this time, all Three Panels are Plumb, Level and Ready for Installation Using Cleat Hangers.

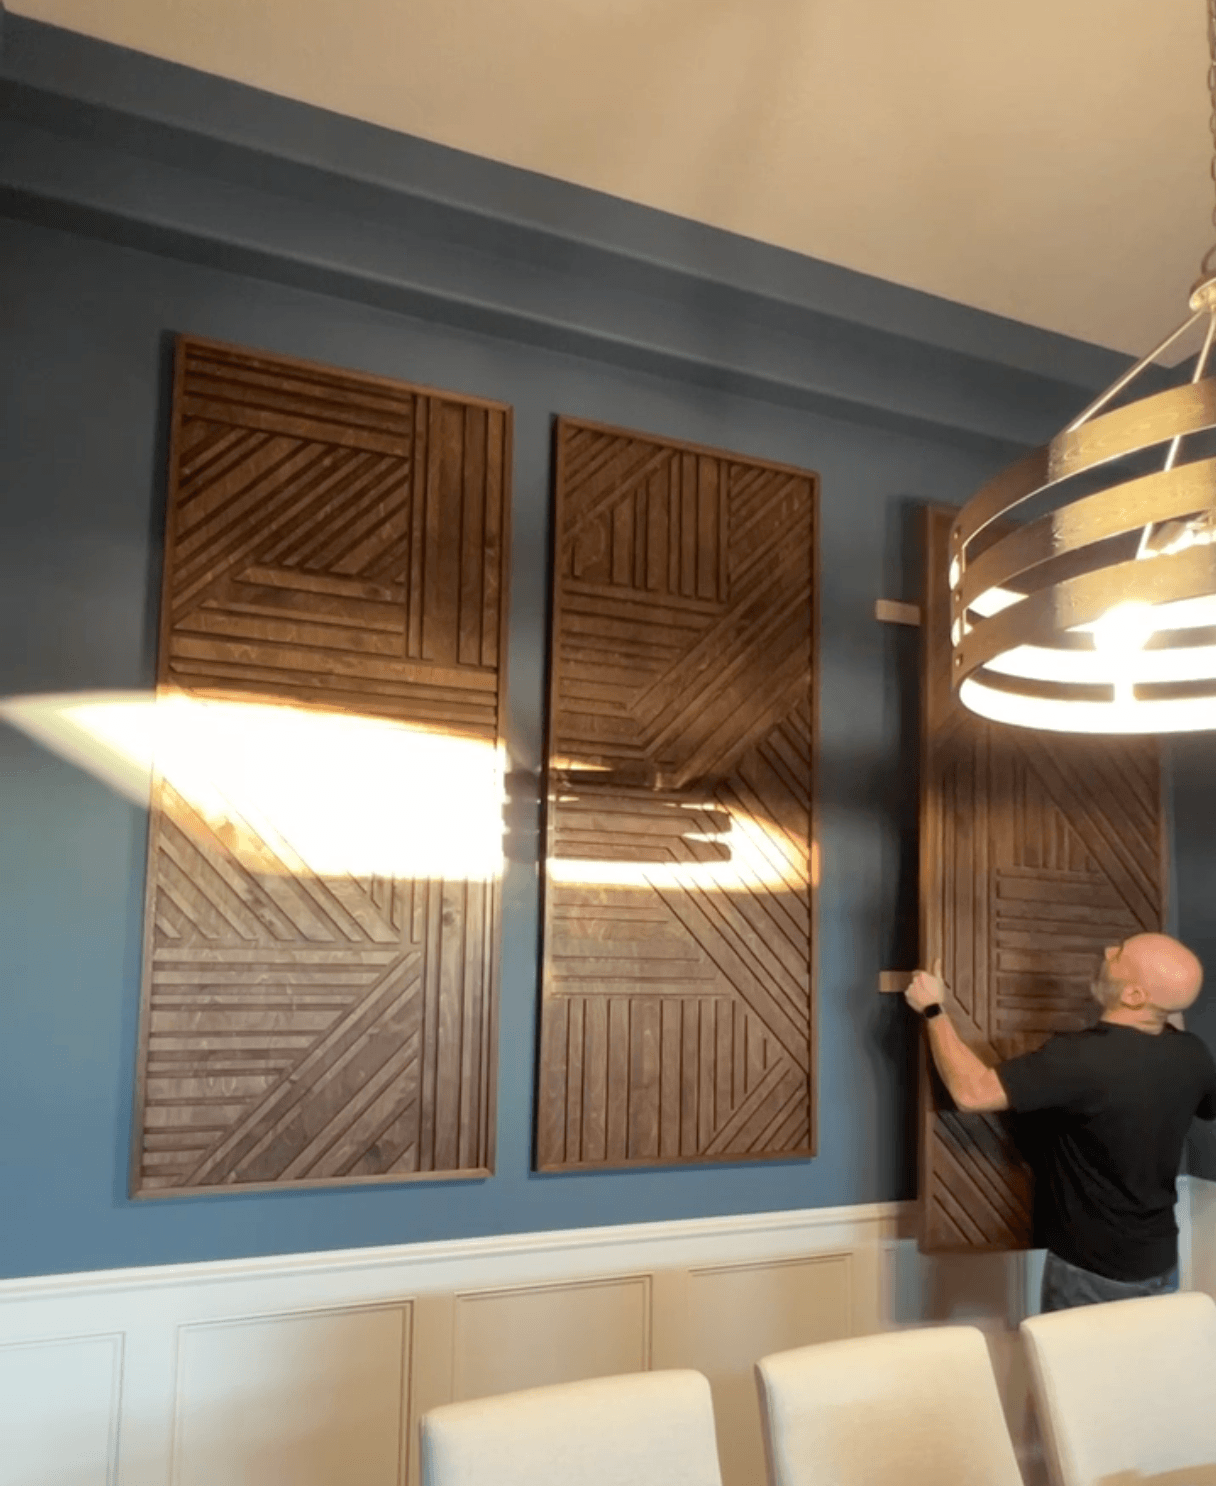
Hanging the third and final panel into the french cleat mounting system

Step 13 — Hanging the Final Panel

The third panel finds its place

Now that the Cleats are Set, putting the Panels Up is Very Easy. Simply Lift, Align and Drop; the Cleats will do the Rest. The Last Panel to be Installed will be the Third Panel, Completing the Composition.

The only two things that create the success or failure of custom work are the planning of the project and the installation of the project. The cutting and staining phases fall into the execution part of a project.

— EastSide CNC

Installed

Detail shot of the installed monogrammed wall art panels
Wide hero shot of the finished three-panel installation in the dining room

In this picture, where you see the finished installation and you see the K motif as the base of the original concept; however, it is purposely very subtle when you look at it in reality. From across the room, you can see it, but you dissolve into the geometry when you are up close.

Reflection

The reason we built our shop the way we did was so that people can have these types of experiences with our company: direct communication with the client; a physical sample made of the actual material before anything is manufactured; a planning system that allows for a totally uneventful actual fabrication; and a finish-to-install transfer process that does not involve a third party.

If you are a designer, builder, or homeowner with a wall and an idea that you cannot verbalize yet, we are the perfect company for your conversation. All we need from you is a picture of the wall you want designed, a sketch or description of your concept, and we will get started on it for you.

Capabilities Used

  • Architectural Details
  • Custom Wall Art
  • Layered Assembly
  • Stain & Finish Work
  • On-Site Install

Got a wall and an idea?

Send us a photo, a sketch, or a description. We'll figure it out from there.